Website Saga: In June of 2014 I needed to rebuild my web site for the third! time because Verizon no longer offered their free web site tool that I had been using for the past few years. Unfortunately, I could not easily migrate the content from either of the two previous web hosting \ building sites. So much of the information from the old sites, including builder tips and the builder's log
was lost. I tried to cut and paste the content, but when I pasted it the formatting got all screwed up and it was taking too much time to clean it up. Ugh ! Therefore, the log starts in July of 2014 with work on the canopy !
was lost. I tried to cut and paste the content, but when I pasted it the formatting got all screwed up and it was taking too much time to clean it up. Ugh ! Therefore, the log starts in July of 2014 with work on the canopy !
Builder's Log

Engine Installation -Coming Soon

Finishing -The finishing kit has not gone smoothly for me. I have cracked 2, yes "2," canopies. One was due to stupidity, and the other one carelessness. I was sooo pissed off at myself. I am in the processes of fiberglassing the 3rd canopy. I think the risk of cracking this one if very low at this point. If there is one bright spot in all of this, it is that I now have a great deal more confidence in working with the canopy and have some good tips to pass along to folks who will soon be making the "big" cut and would like to know more about gluing the canopy instead of using pop rivets.
Panel & Electrical - Winter time was a good time to work on the panel in the downstairs workshop. This part of the project was fun and wasn't as difficult as I thought it would be. The photo to the left is a picture of the panel on the test stand that I built. Power for the panel it coming from the car which is on the other side of the garage door. This test stand allowed me to test many, but not all of the circuits as well as the basic operation of some of the components. One thing that was cool, was that I was able to plug in my iPhone and listen to music in my headset while I was testing stuff. Planning and building the panel was fun, and I would recommend that you give it serious consideration.

Fuselage -The fuselage seems to have taken a loooonnngggg time. I'm not sure if that's because I didn't work on it that much or if there was just a lot to do. I'm guessing it was both. One thing that I did do that has been a real plus, it that I built a cradle set on swiveling casters. This has enabled me to very easily move the fuselage around as needed. I don't have a photo specifically of the cradle, but if you check out this picture you should get a sense of what it looks like.

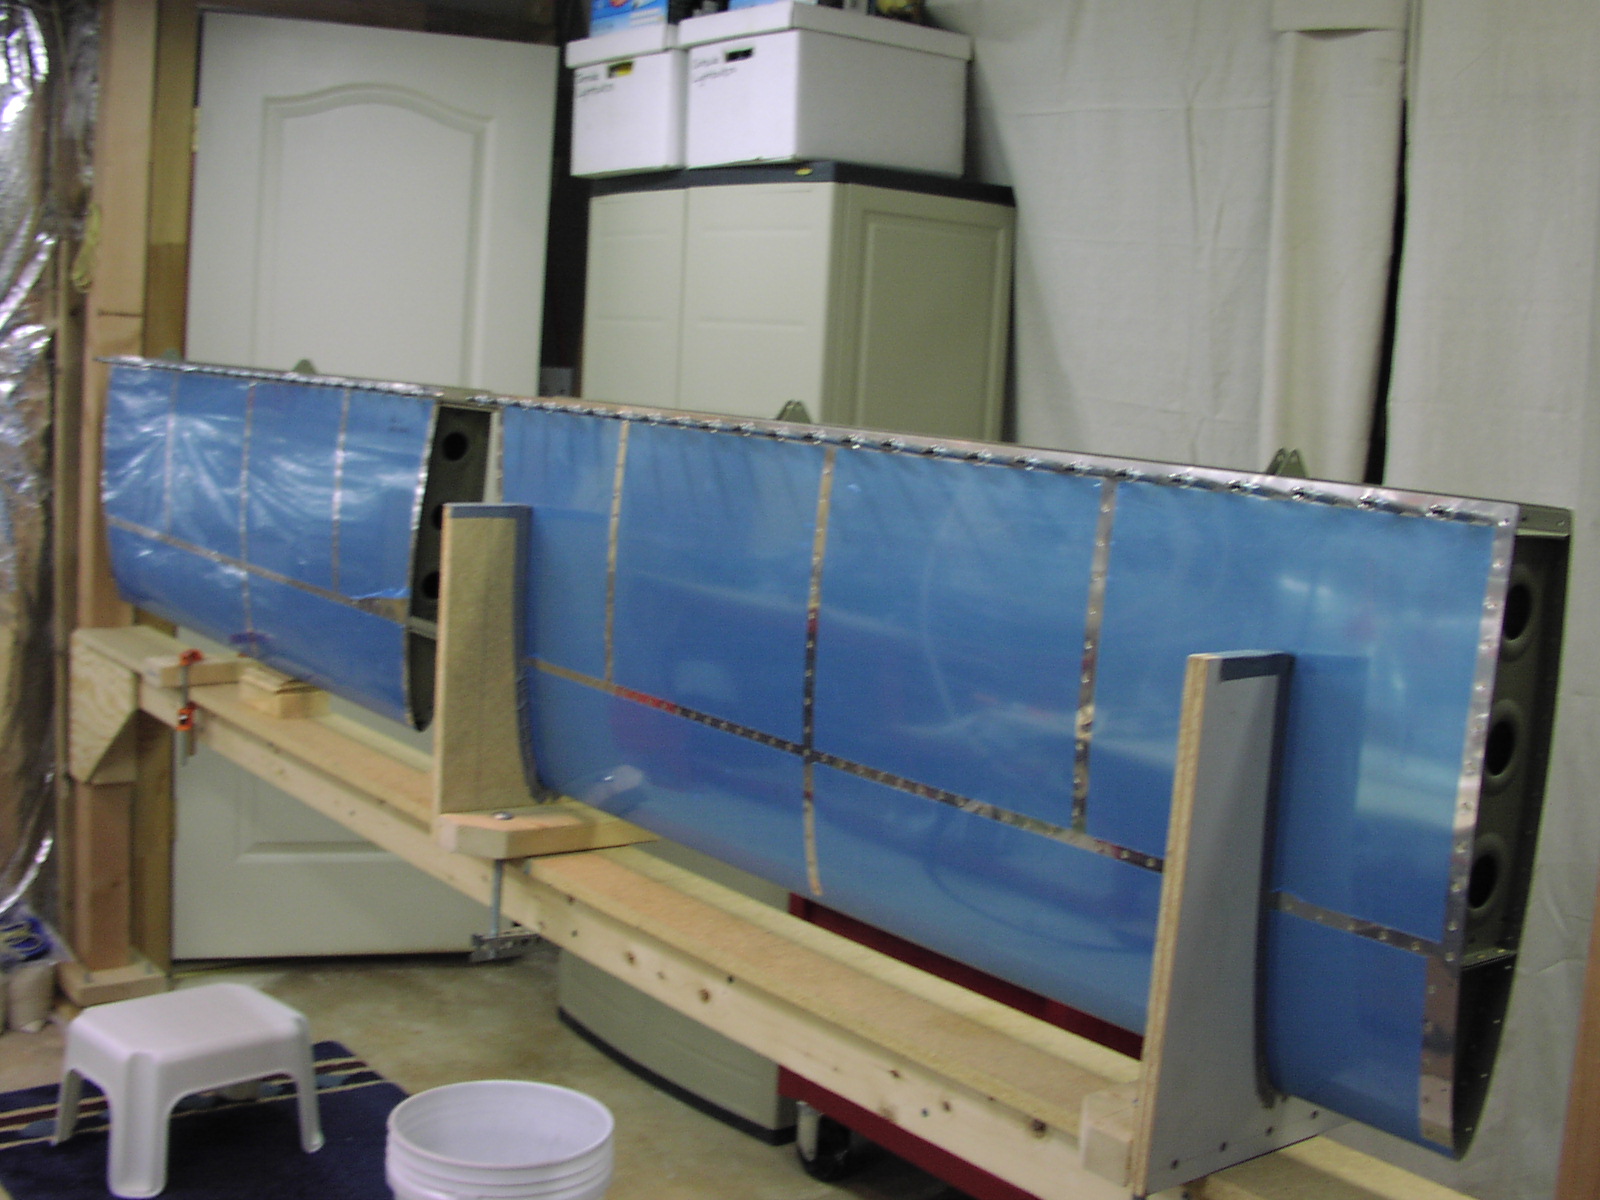
Wings - I writing this from memory since I no longer have the builder tips associated with building the wing. I do remember one of the items that I had posted. That is, build both wings at the same time as opposed to building one and then the other. I would find it difficult to be excited about building the second wing after I had just completed the first one. Building them together helps keep you motivated and when you're done, you're done!

Tail - Unfortunately all of the history, builder tips, and and log entries for the construction of the tail were lost when I went from one web hosting service to the next. I would suggest that you go to the Pics & Videos tab and select the link to the photos for these activities. I've tried to add descriptive captions to many of the photos. However, it's not the same as the information found in the builder's log.
